Ecosystem
July 16, 2025

How to Transfer Crypto Between Blockchains: A Step-by-Step Guide

And what the future with aggregation looks like
POLYGON LABS
Ecosystem

Transferring assets from one blockchain network to another is key for many Web3 users. 

Whether that means moving tokens from Ethereum to a Layer-2, or from any non-EVM chain like Solana to any other chain, like Polygon, the concept is the same: you must use a mechanism to bridge the asset between two different blockchains.

In this step-by-step guide, we’ll walk through how to transfer tokens between blockchains. We’ll focus on using a cross-chain bridge, as it’s the most direct method, but also mention alternative methods like using exchanges, and alternative solutions, like Agglayer, that make cross-chain transfers seamless, trustless, and easy. 

By following these steps, even a beginner can navigate cross-chain transfers with more confidence.

Preparation: Understand the Basics and Risks

Before diving into the steps, it’s important to understand that every blockchain is a different world. Different worlds operate differently and adhere to their own local truth.

In short, you cannot simply send a token from Chain A to Chain B the way you would send it to different wallet addresses in the same chain. To transfer between chains, you need an intermediary – usually a bridge or an exchange:

  • Bridges: Applications specifically built to move assets between chains. Different bridges have different designs, but there are a few different options: locking on one chain and minting on another, or providing pools of liquidity between chains where assets can be swapped.
  • Exchanges: A centralized exchange (CEX) can also serve as a bridge: you deposit coins on one chain and withdraw them on another chain, effectively transferring value via the exchange’s custody.

Each method has trade-offs. Bridges keep it decentralized but require multiple transactions and some technical savvy. Exchanges are simpler but involve fees and trusting a third party with your funds to provide the liquidity. 

In this guide, we’ll primarily outline the bridging process, as that’s more aligned with a crypto-native approach.

Safety Tip: Cross-chain transfers don’t rely on a centralized entity and the user therefore subsumes the risk. Always double-check that you’re using a trusted bridge, and be mindful of phishing sites. It’s wise to test with a small amount first if you’re new to bridging. 

Remember, none of this is financial advice (see the disclaimer at the bottom of the blog); everything in this guide is for education. 

With that said, let’s get into the steps.

Step 1: Decide on Your Transfer Method (Bridge or Exchange)

First, decide how you want to transfer your crypto:

  • Using a Bridge (Decentralized): Choose this if you want to remain in control of your funds during the transfer and avoid using a middleman. 
    • There are canonical bridges and third-party bridges. A canonical bridge (sometimes called a “native bridge”) is an official connection between two blockchains, generally present in L2 environments, and allows for the transfer of assets between an L2 and Ethereum. Third-party bridges are not native to a chain, but rely on various mechanisms, like lock-and-mint, to facilitate cross-chain transfers.
    • This is suitable for moving assets that are supported by cross-chain bridge protocols. Ensure the specific chains and tokens you want to transfer are supported by a reputable bridge.
    • But note: Even many bridges rely on intermediaries, especially intents/solvers bridges that depend on liquidity pools to make swaps.
  • Using a Centralized Exchange: This can be easier for beginners or for certain transfers. It involves sending your crypto to an exchange on the source chain, trading or directly withdrawing it on the target chain. 
    • For example, to move from Ethereum to Solana, you could deposit your tokens to an exchange account and then withdraw them on Solana (if the exchange supports that asset on Solana). This avoids dealing with the bridging technicalities yourself, but you will pay exchange withdrawal fees and trust the exchange during the process.

For this guide, we assume you chose a bridge, since exchanges have their own deposit/withdrawal process. The remaining steps will focus on using a cross-chain bridge.

Step 2: Ensure you have wallet addresses for both blockchains 

You need to ensure you have a crypto wallet address for both chains. Check out the getting started with Metamask guide. Many wallets are now multichain, easing user experience by providing multiple addresses across different blockchains in a single wallet. But some are not. 

  • If you are transferring between EVM-compatible chains (like Ethereum, Polygon, Arbitrum, etc.), a wallet like MetaMask or Rabby can be used for all of them (you just switch networks in the wallet).
  • If one of the chains is non-EVM (like Solana), you may need a different wallet for that chain. For Solana, a popular one is Phantom, which supports some  EVM chains like Polygon and Base, as well; for Cosmos, something like Keplr; for Bitcoin, you’d need a Bitcoin wallet. Ensure that your wallet either enables addresses across the chains you want to transfer, or that you have created and kept track of the keys for the wallets you need.
  • Never share your seed phrase with anyone! 
  • Fund each wallet with a bit of the native cryptocurrency to pay for transaction fees on that chain. For example, if moving tokens from Ethereum to Solana, have some ETH in your Ethereum wallet for gas, and some SOL in your Solana wallet to pay fees on that side.

Step 3: Choose a Trustworthy Bridge and Verify Support

Research and select a bridge that supports the source and target chains and the specific asset you want to transfer. Not all bridges support all tokens; many only support a set of major assets.

Note that some wallets may allow you to bridge within the wallet interface itself—but pay attention to slippage and fees. 

If you want to transfer between two L2s, you may use the canonical protocol bridge. Note, however, that optimistic chains like OP Mainnet and Arbitrum have a seven-day withdrawal period. That means transferring through Ethereum requires waiting seven days before funds can be claimed on mainnet, due to the cryptographic safety mechanisms of this technology.

Other canonical EVM chains have faster bridge times, such as the Polygon Portal, for Ethereum↔Polygon specifically. In this case, after waiting ~60 minutes, users can claim funds on L1 (Ethereum), and transfer to other L2s. 

There are well-known third-party cross-chain bridge platforms. These include Wormhole (Portal), Across Protocol and Hop Exchange (for Ethereum Layer-2s), Chainlink CCIP (a more recent general messaging protocol), and many others.

Once you pick a bridge, navigate to its official website. A good practice is to find the bridge link through official documentation of the chain or a reputable source.

Verify that:

  • The bridge supports transferring the direction you need (some bridges are one-way or have different processes each way).
  • The asset is supported on both sides (if not, you may need to swap into a supported asset first, like a stablecoin).
  • Be aware that the asset you bridge may be wrapped when it arrives. This is one way in which different worlds talk to one another—by “wrapping” the native asset of different chains. 

Step 4: Connect Your Wallet to the Bridge

On the bridge interface, you will have to connect your source-chain wallet; you may have to connect your destination-chain wallet, as well; you will also be asked to input an address. 

  • Connect your wallet(s)
  • In the bridge UI, select the source network and target network from dropdown menus.
  • Select what token and how much you want to transfer
  • The app may then prompt you to connect the destination chain wallet as well.

The interface might show an estimated fee or exchange rate if applicable. Also, check if the bridge will deliver the exact same token on the destination or a wrapped version. It’s usually a wrapped version unless it’s a canonical bridge within the same ecosystem.

Step 5: Initiate the Bridge Transfer

After confirming the details, proceed to bridge the asset:

  1. Lock/Burn on Source: The bridge will prompt your source wallet to perform a transaction. This transaction typically locks your tokens in the bridge contract (or burns them). For ERC-20 tokens on Ethereum, there might be an approval step first (granting the bridge contract permission to use your tokens) followed by the actual transfer transaction. Once done, you’ll wait for the source chain confirmation. The bridge UI might show a progress indicator (e.g., “waiting for confirmations”).
  2. Mint/Release on Destination: After the source transaction is confirmed and the bridge validators acknowledge it, the bridge will be ready to release the funds on the destination chain. In many third-party bridge interfaces, this might happen automatically. In some, you might have to manually click “Redeem” or “Claim” to trigger the receiving transaction. The bridge will then prompt a transaction with your destination wallet.

Be patient as the cross-chain message is relayed. The time can range from seconds to several minutes depending on the chains and bridge.

If you choose to go the canonical route, the delay may be days instead of seconds, minutes, or hours. 

Step 6: Confirm Receipt on the Destination Chain

Once the process is complete, you should see the funds in your destination wallet address. If the token was not previously in your wallet, you may need to add the token contract to your wallet app to see it, depending on your wallet UI.

Double-check the balance. It’s a good idea to also look up the transaction on a block explorer for both chains:

  • On the source chain’s explorer (e.g., Etherscan or Solana Explorer), you should see your transfer transaction (and maybe a corresponding event that shows it went to the bridge).
  • On the destination chain’s explorer (e.g., Etherscan for Ethereum if that’s destination), you should see the token receipt transaction.

If something goes wrong (transaction failure or long delay), consult the bridge’s documentation or support channels. Sometimes, if network conditions are bad, you might have to retry a claim transaction. Reputable bridges have detailed FAQs for troubleshooting.

Additional Tips and Considerations

  • Fees: Ensure you pay attention to fees.
  • Slippage/Exchange Rate: If the bridge does a swap (some bridges are really cross-chain DEXs), there could be slippage or a rate difference. Try to do swaps separately on a DEX if that gives you more control, unless the bridge has a built-in DEX that you trust.
  • Security: Use only well-known bridges or those officially recommended by the blockchain project. As noted earlier, bridges can be honey pots for hackers. Billions have been stolen in bridge hacks over the years. Check if the bridge has undergone audits and whether it has insurance or a backing fund in case of an exploit.
  • Alternative (exchange method): If you opt for an exchange instead of bridging: the steps become (1) send asset from your wallet to the exchange’s deposit address on Chain A, (2) trade or internally transfer if needed (some exchanges automatically handle same-asset transfers, e.g., they credit you the same asset on another chain), (3) withdraw the asset on Chain B to your wallet on Chain B. Always triple-check you’re withdrawing to the correct blockchain address (with the right network selected).

Future Outlook: Easier Cross-Chain Transfers

The process above shows that transferring crypto between blockchains today is doable but cumbersome. Each step carries complexity and demands more of the user. 

But emerging solutions are making cross-chain experience feel just like the Internet by streamlining user and developer experience.

Agglayer is the TCP/IP moment for Web3 because it aims to connect blockchains in a unified network much like the internet unified disparate computer networks. In a word, Agglayer unifies all of Web3: L1, L2, any chain, even any app. Doesn’t matter. 

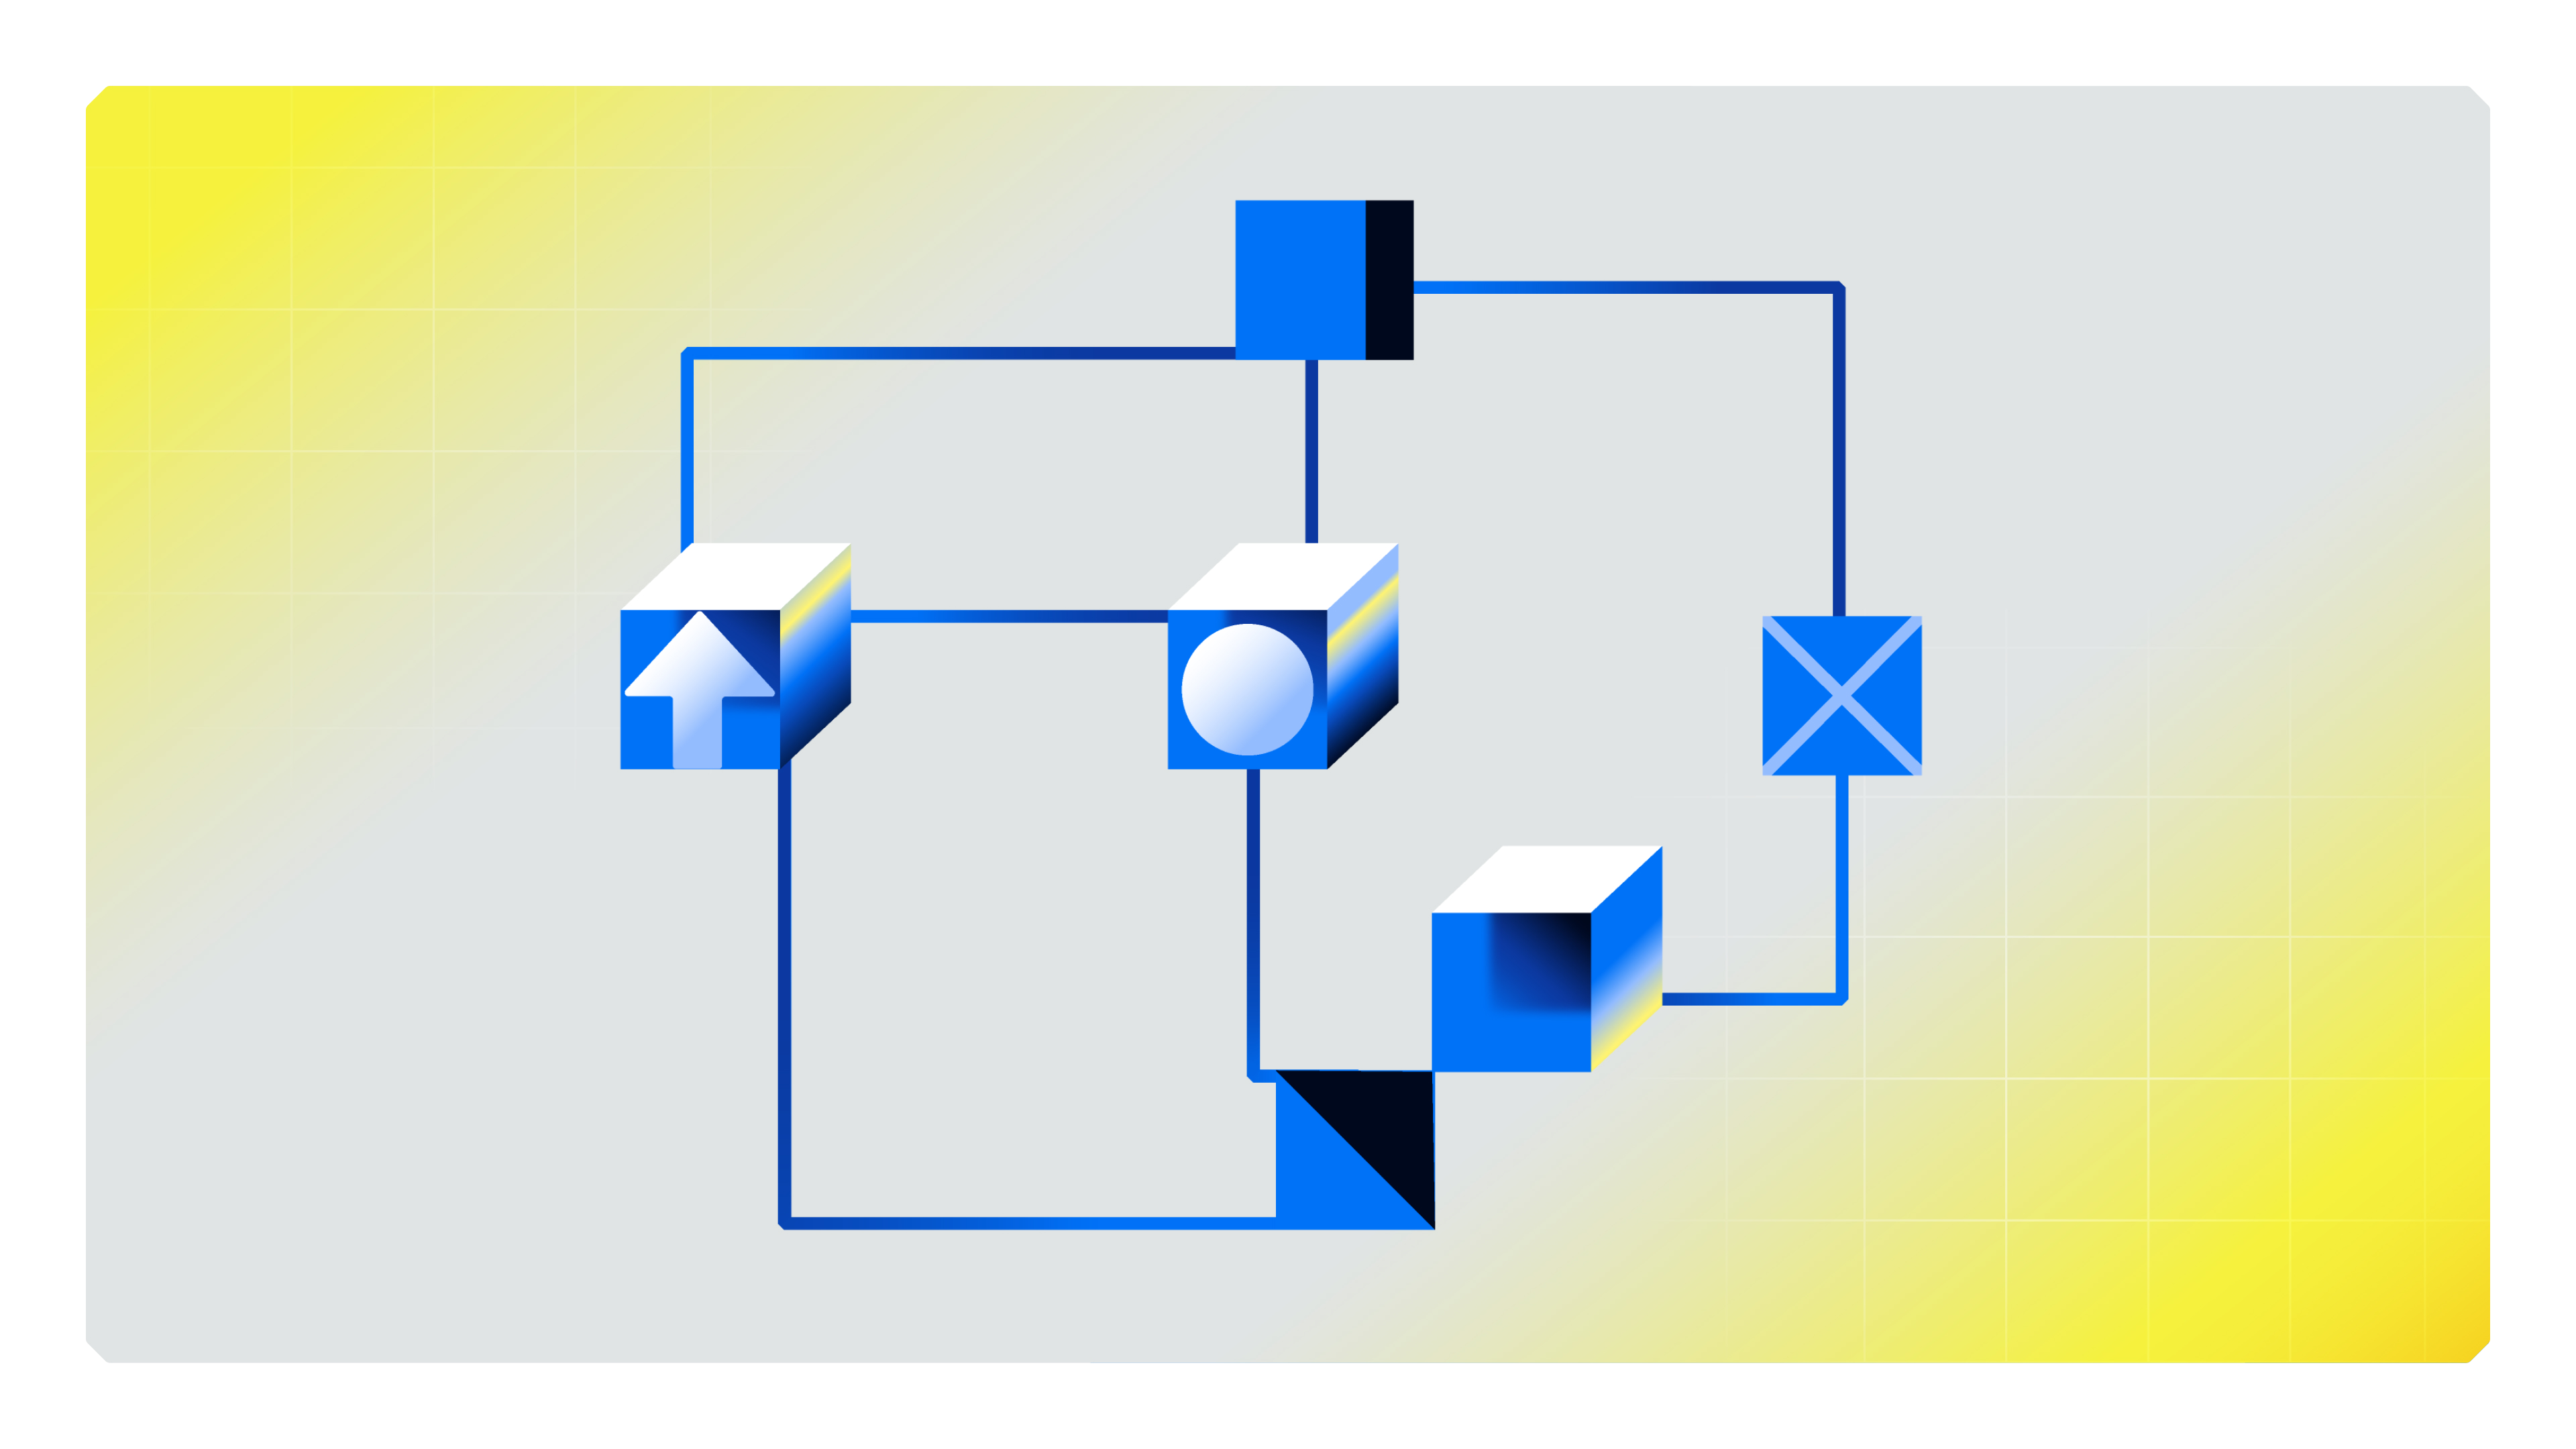
Instead of relying on many fragmented bridges, Agglayer provides a unified bridge that Agglayer CDK chains can connect to natively, and to which existing chains will be able to migrate in the future. Using Agglayer has several positive features:

  • Assets moved through Agglayer’s unified bridge are fungible native tokens on every connected chain, without needing to be wrapped and unwrapped. In other words, two native Agglayer chains can move ETH between them without wrapping. This eliminates confusion and liquidity fragmentation caused by wrapped tokens.
  • Agglayer uses advanced cryptography (specifically a special kind of ZK proof called the pessimistic proof) to ensure security across chains. This mechanism guarantees that no chain can withdraw more assets from the shared bridge than it put in. Even if one chain is compromised, it cannot drain the liquidity of others – addressing one of the biggest fears in bridging.
  • Because all chains share this bridge and a common accounting system, the user experience can be much smoother. Agglayer supports “bridge-and-call” transactions, meaning a user could move assets and perform an action (like a trade or an NFT purchase) on another chain in one click. The behind-the-scenes complexity (multiple transactions across chains) is abstracted away, so it feels like interacting with a single blockchain for the user.
  • From a trust standpoint, Agglayer is designed as a neutral, trust-minimized layer. It posts finality on Ethereum mainnet, and doesn’t impose new trust assumptions akin to existing bridges. In essence, it’s aiming to remove the need to rely on many separate bridge validators by using Ethereum’s security and cryptographic proofs as the source of truth.

Note: Agglayer is currently in development, with user-facing interfaces coming soon. Over time, you won’t need to think about using Agglayer at all — it will just work in the background.

By following the step-by-step approach outlined above, you’ll be able to transfer assets between blockchains when needed. Just remember to do each step carefully, keep records of transactions, and start with small amounts until you’re comfortable. With practice, using bridges becomes just another part of managing crypto in a multi-chain world. 

And when the new wave of interoperability solutions like Agglayer succeeds, such manual processes may soon be a thing of the past, with cross-chain liquidity flowing as easily as data on the Internet.

---------------

About Polygon Labs:

Polygon Labs is a Web3 software company developing Polygon Proof-of-Stake network, the premiere blockchain for payments and RWAs, and Agglayer, a unified web of chains that feels like the Internet. Polygon is known as the low-cost, high velocity network, with billions secured in stablecoins, supporting a robust payments ecosystem to help grow Agglayer use cases in an interoperable Web3. Research from Polygon Labs has contributed to the development of widely-adopted zero-knowledge technology, with successful, independent projects incubated through the Agglayer Breakout Program, such as Katana, ZisK, Miden, PrivadoID, and more

Disclaimer

The information in this post should not be used or considered as legal, financial, tax, or any other advice, nor as an instruction or invitation to act by anyone. Users should conduct their own research and due diligence before making any decisions. Polygon Labs may alter or update any information in this post at its sole discretion and assumes no obligation to publicly disclose any such change. This post is solely based on the information available to Polygon Labs at the time it was published. Polygon Labs makes no guarantee of future performance and is under no obligation to undertake any of the activities contemplated herein. Do your own research and due diligence before engaging in any activity involving crypto-assets.

More blogs

Pessimistic Proofs vs Optimistic Fraud Proofs: Securing Crosschain Interop

Aggregation
Learn Agglayer

Build Your Way with Agglayer CDK OP Stack

Aggregation
No items found.

Agglayer v0.3 Is Live: Lays Groundwork for non-CDK Chains to Securely join Agglayer, Starting with Polygon PoS

Aggregation
No items found.

Introducing the Pessimistic Proof for Agglayer: ZK Security for Cross-chain Interoperability

Aggregation
No items found.

Subscribe to Agglayer Newsletter

Thank you! Your submission has been received!
Oops! Something went wrong while submitting the form.